I&M BANK 2025 CTF - Incident Response Write Up
Compromised server-1
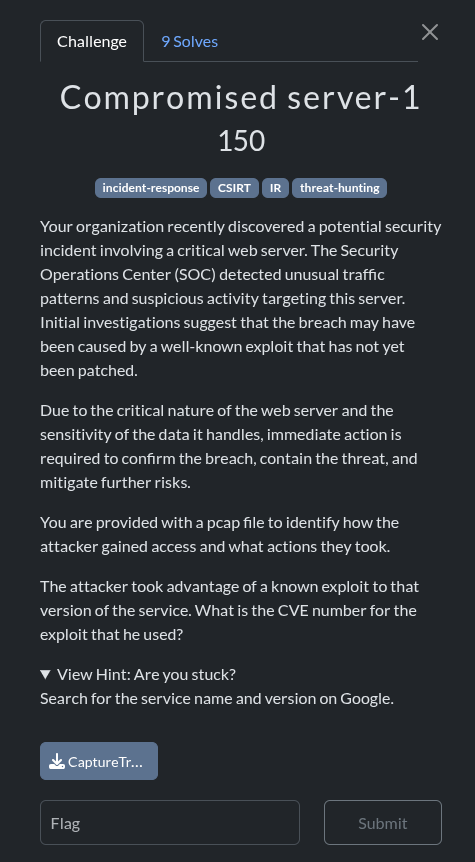
We were given this pcap file analyze.
Given such a challenge, the first thing I did was to identify the attacker’s IP address. This helps in getting a better understanding of the traffic flow. To achieve this, I used wireshark - a packet analysis tool. After opening the pcap file on wireshark, Under Statistics >Conversations> IPv4 , I sorted the packets in descending order to get the conversation with the highest amount of traffic flow.

Upon analyzing the packet capture, I observed a significant amount of traffic between IP address 95.164.9.144 and 172.17.0.2, indicating active communication between the two hosts. From a networking perspective, 172.17.0.2 falls within the private IP range (172.16.0.0/12), suggesting it belongs to an internal server within the local environment. In contrast, 95.164.9.144 is a publicly routable IP address. Given this, it is reasonable to infer that 95.164.9.144 represents the external attacker’s machine, while 172.17.0.2 corresponds to the targeted internal server involved in the communication.
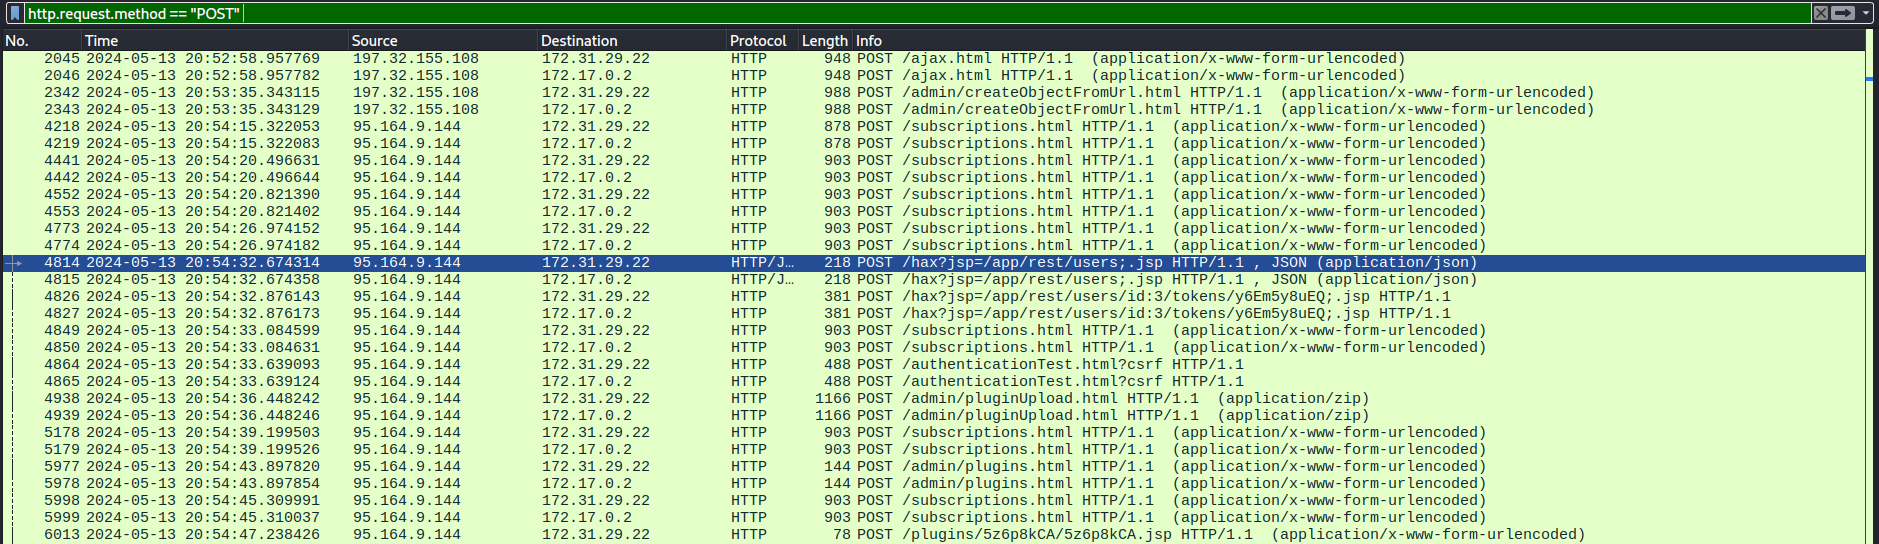
To determine whether any exploits were targeting the server, I needed to identify the build version of the web server service. This information can often be obtained by examining HTTP requests and responses within the packet capture.In this case, I focused on POST requests, as they typically contain data sent to the server and often trigger responses that include server headers. To isolate these packets in Wireshark, I applied the following display filter:
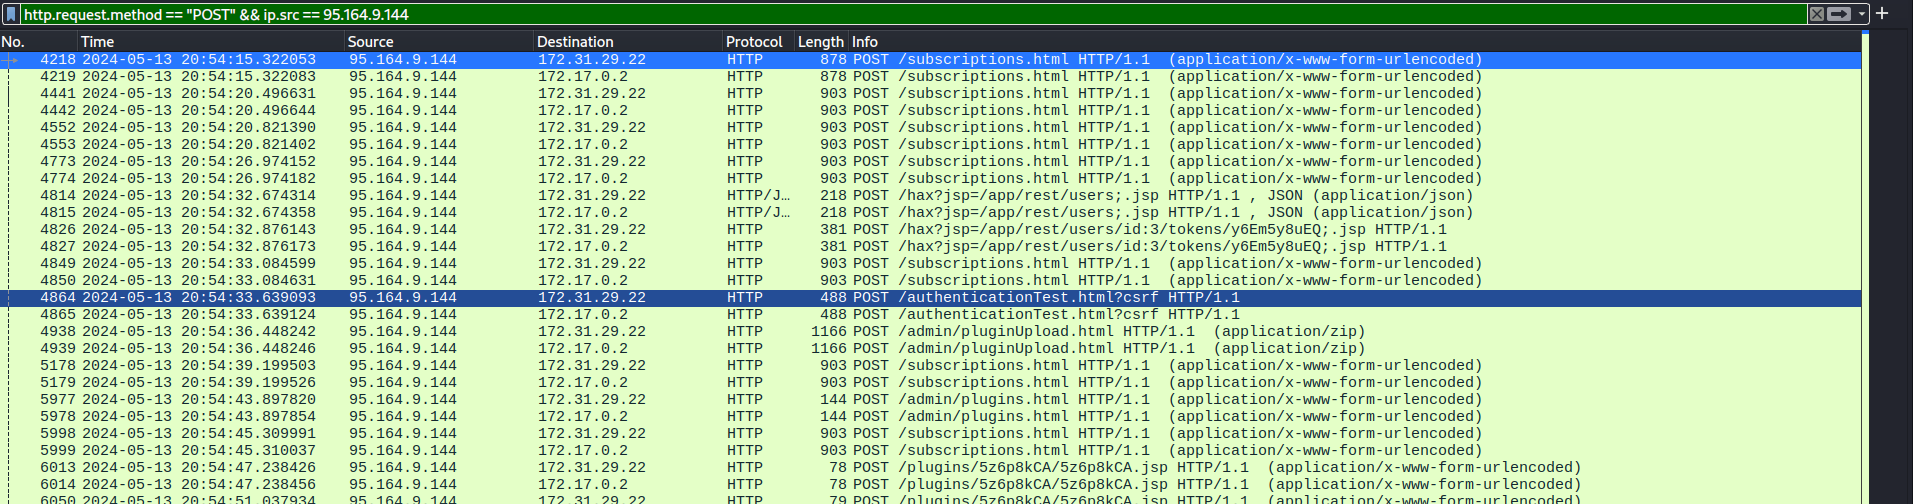
After applying the POST filter, I right-clicked a relevant packet and selected Follow → HTTP Stream to reconstruct the full HTTP conversation between the remote host and the target. Inspecting the raw request/response exchange allowed me to extract full headers and payloads rather than relying on Wireshark’s parsed summary. The capture contained numerous POSTs from the external host to the server; most returned routine responses, but the transaction against the /authenticationtest endpoint leaked critical metadata. The response included a banner/header disclosure that revealed the web server’s build string — an instance of information exposure caused by a verbose or improperly hardened endpoint. 
In red-team terms this is equivalent to banner grabbing: an adversary can use the exposed header to fingerprint the server stack (vendor, version, modules) and map the host to known vulnerability signatures. This type of disclosure expands the attacker’s reconnaissance capability: with the build string in hand they can search vulnerability databases and proof-of-concepts for matching version-specific exploits. Practically, this reduces the attack surface discovery phase from broad probing to targeted exploitation (for example, selecting an exploit chain that affects that exact server version). It also enables more efficient weaponization — tailoring payloads and request formats to the server’s behaviour and known parsing quirks.
To identify the exploit used by the attacker, I extracted the service name and exact build number from the HTTP response and used that identifier to search vulnerability databases. 
Mapping the captured build (TeamCity 2023.11.3) to public advisories revealed CVE-2024-27198 — a critical (CVSS 9.8) authentication bypass in TeamCity’s web UI resulting from an alternative-path handling bug (CWE-288). 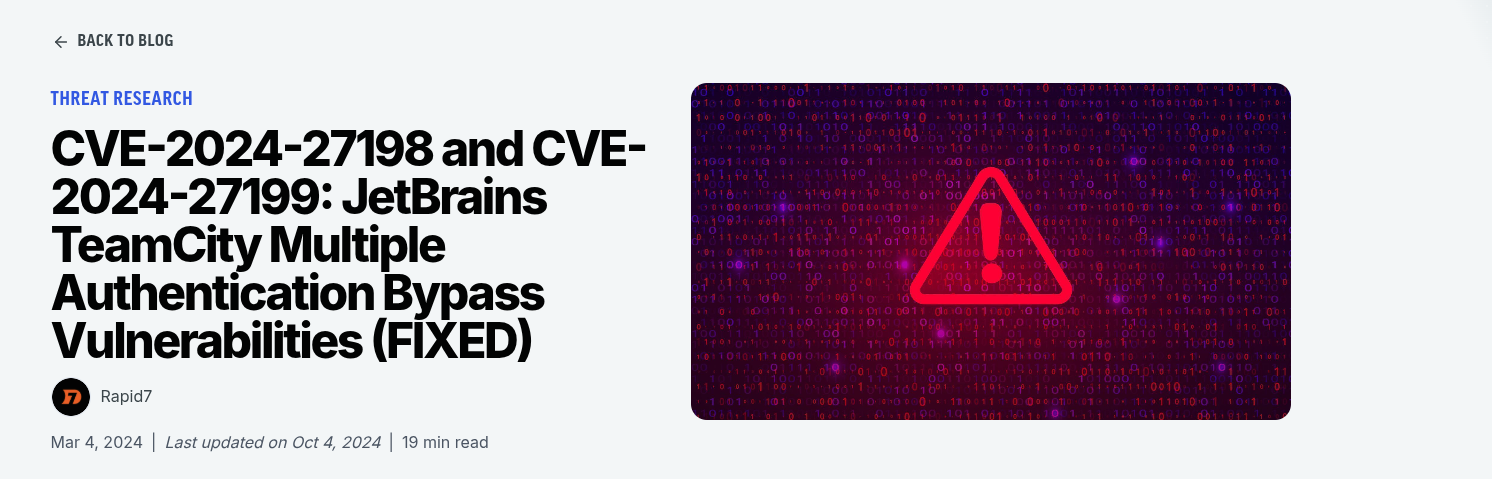
I found the first flag: CVE-2024-27198
Compromised server - 2
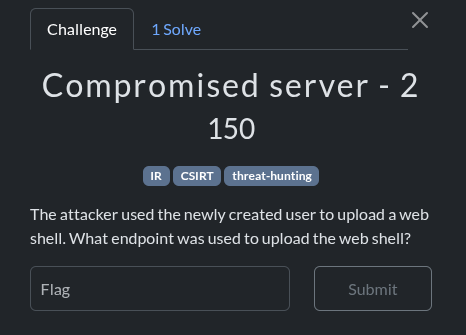
For the next phase, I enumerated accounts created by the attacker by filtering for suspicious POST requests in the packet capture. Using Wireshark I isolated registration-related POSTs, reconstructed each HTTP stream, and identified the earliest account creation request — this revealed the first user created by the attacker.
 The attacker created a user by the name “ahup1rui” with a password of “pXgdGJacOZ”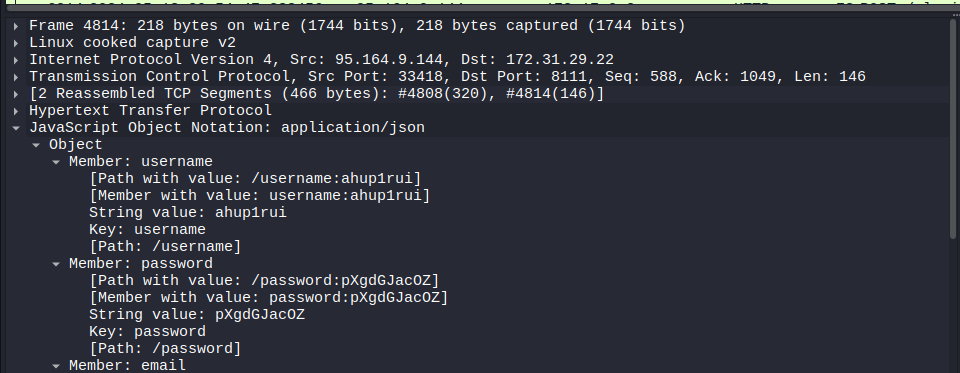
I now needed to find the endpoint that the attacker used to upload the web shell. Still on the post requests, I spotted the endpoint. 
I got the second flag pluginUpload.html
Compromised server - 3
The attacker uploaded a web shell using the newly created user.What is the full URL of the uploaded web shell?
For this, I followed the network stream of the previous question.I came across this file 5z6p8kCA.zip which contained the 5z6p8kCA.jar file as shown below.

To obtain the full URL, I located the packet containing the uploaded file and examined its corresponding HTTP metadata. I used the filter http.request.uri contains “5z6p8kCA.jsp” 
I got the flag http://18.159.50.167:8111/plugins/5z6p8KCA/5z6p8KCA.jsp
Compromised server - 4
The attacker created another user named 41m67llo and uploaded another web shell. What is the name of the ZIP file that was uploaded?
Since I are already had the username, I filtered for POST requests related to the plugin uploads.


I got the flag V5HwJgS3.zip
Compromised server-5
The attacker created a file on the system containing some text.What is the text inside that file?
On the same packet from the previous question, I viewed the HTML form URL Encoded section.

I got the flag YOU ARE HACKED BUDD!